
Overview
Danger is a ruby gem that you can use on your continuous integration process to automate code reviews.
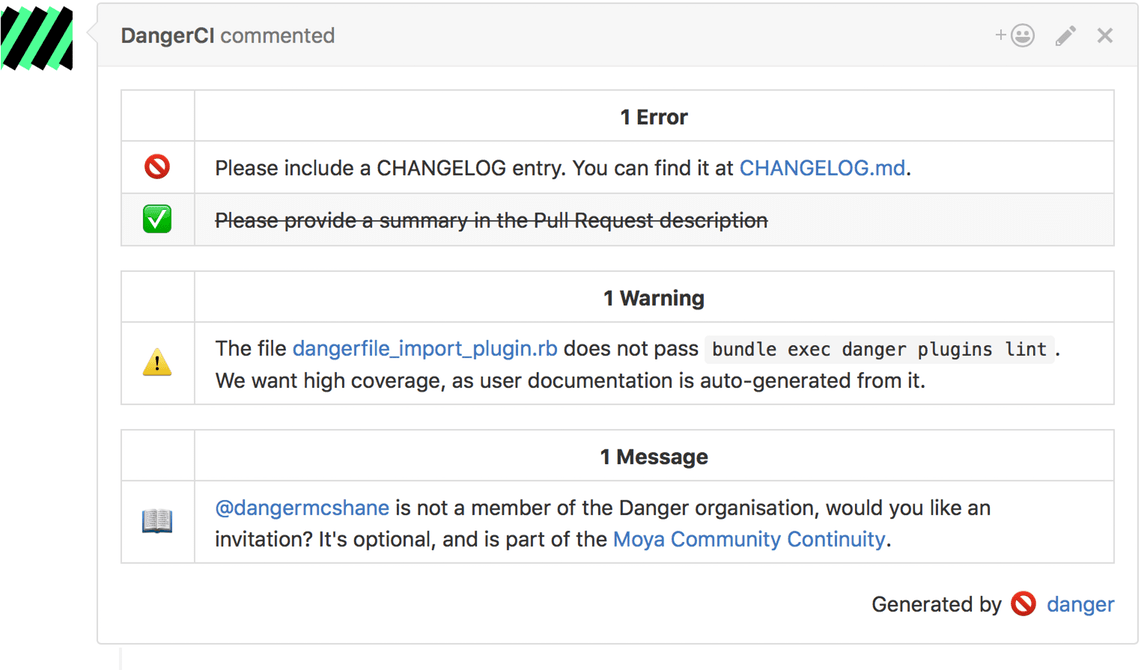
Danger can automatically go through the code in a an open pull request and check if it respects the rules your team and you have established.
When used in combinations with certain source code management platforms, Danger can even comment directly on an open pull request.
Danger can:
- Run on: Circle, Travis, Jenkins, Buildkite, BuddyBuild, Semaphore, TeamCity, Xcode Bots, Drone, Surf and Bitrise.
- Chat back on: GitHub, GitLab and Bitbucket.
- Handle diffs from: Git.
Off the top of your head, what is a good tool to enforce code style and other criteria in a Haskell code base?
You guessed it, hlint. Introducing danger-hlint.
Here is an example of Danger controlling hlintBot and commenting on a pull request.

danger-hlint
danger-hlint is plugin for Danger and ruby gem. The core of danger-hlint is the lint
function that calls hlint with a set of parameters.
Let’s see how to use it.
Setting up Danger
Setting up Danger for your project is very easy. Here is a complete guide, but for the impatience it boils down to installing Bundler and doing:
$ cd myProject
$ bundle init
$ echo "gem 'danger'" >> Gemfile
$ echo "gem 'danger-hlint'" >> Gemfile
$ bundle install
Now you should have two new files on disk, Gemfile and Gemfile.lock. Add these to version control and commit.
At this point you can run either run bundle exec danger init and follow the
instructions on screen or continue reading this blog post.
What bundle exec danger init does is:
- creates a
Dangerfile— We will create one manually - prompts you to set up a Github account for Danger to comment our your PRs with — We won’t need this as we will be using hlintBot
- instructs you on how to set up a CI — We will see how to set up Travis
I will guide you through a quick set up using GitHub and Travis CI. Reading this guide will probably take you longer than setting things up as it is very easy.
Refer to the complete guide for different set ups or if you get into trouble.
Dangerfile
The Dangerfile is where you specify the rules to apply to the code, and that is
where we’ll use danger-hlint. The Dangerfile is a ruby script that we will write using function from danger-hlint and the danger gem itself.
Create a file called Dangerfile in the root of your project and paste in the
following
# get all affected files by the changes in the current diff
affected_files = git.added_files + git.modified_files

# limit files to .hs files
haskell_files = affected_files.select { |file| file.end_with?('.hs') }

# run hlint on the files and comment inline in the PR
hlint.lint haskell_files inline_mode: true
If you wish to pass more arguments to hlint just add them as keyword arguments like so
# run hlint on the files with my special hint file and comment inline in the PR
hlint.lint haskell_files inline_mode: true hint: "/path/to/MyHlinHintfile.yaml"
All arguments should be passed on transparently to hlint, if they are not feel free to submit a pull request to fix that.
At this point you can already run Danger locally by following these instructions.
Travis
Now that you have Danger set up locally, the next step is to run
it on your CI. I will explain here how to set up Travis to run Danger specifically
for Haskell projects. You can find a complete .travis.yaml here and at the end of this
section.
The setup process is comprised of two parts:
travis.yaml
First off before the install step on Travis, we have to set up the ruby.
This is done by using RVM which is available on Travis’ image
for C projects. Add to your .travis.yaml file a before_install the following
before_install:
# Update ruby
- rvm use 2.1 --install --binary --fuzzy
Next we need to download hlint.
Here is a rake task to do so. You don’t have to use a rake task, any other way will do as well. Feel free to use your own script to download and install hlint.
Save this as Rakefile at top level in your project. Add this file to version
control and commit it.
Now, back in then .travis.yaml file in the
before_install step, we run rake hlint:install[2.0.9] task to install hlint at version 2.0.9.
before_install:
# Update ruby
- rvm use 2.1 --install --binary --fuzzy
# Download and instal hlint
- rake hlint:install[2.0.9]
Next in the the install step we want to install Danger and danger-hlint on
Travis.
We specified these gems as dependencies earlier in the Gemfile and
Gemfile.lock and committed those to files on in our project’s repository.
We can just then run bundle install --deployment. We want to use the --deployment
flag so that we can cache the vendor/bundle directory where bundler is going
to install the dependencies.
install:
  # Run bundler and install the dependencies in vendor/bundle
  # so that it can be cached.
  - bundle install --deployment
Next in the script step we want to run Danger so we simply add bundle exec danger
script:
  - bundle exec danger
Last we’re going to tell Travis to cache the vendor/bundle directory so that on
the next run bundle install --deployment will potentially do no work.
# Caching so the next build will be fast too.
cache:
  directories:
  - vendor/bundle
Here is an example of how a final and complete .travis.yaml file looks like for
Haskell projects, including Danger setup.
In the next section we will see how to allow Danger to comment on the pull requests that will be open on our project from now on.
Enabling Danger to comment on pull requests
Danger is able to comment on pull request on GitHub by controlling an account via a personal access token. Rather than using your own account you can create another account on GitHub using the incognito mode on you web browser as suggested on Danger.systems.
Alternatively I have already created @hlintBot. Feel free to use this account in the next steps, the access token to control @hlintBot is
Once you have an access token, open your project’s Travis control panel at travis-ci.org/{you}/{project}/settings.
In the Environment Variables section add an environment variable called
DANGER_GITHUB_API_TOKEN and assign it the value of your access token. Refer to
the CI/Token Setup section on Danger.Systems if these instructions are unclear.
At this point your are all set and Danger should be able to comment on you open pull requests. Here is an example of hlintBot commenting on a pull request.
Conclusions - TL;DR
We have seen how to set up a system to automatically comment on pull requests to encourage contributors to follow your hlint rules.
Recapping, to run danger-hlint you need:
- At top level in your project
- A
Gemfile&Gemfile.lockrequiringdangeranddanger-hlint - A
Dangerfilewhere you callhlint.lint - A
.travis.yamlwhere you downloadhlintand runbundle exec danger
- A
- On travis-ci.org
- Add a
DANGER_GITHUB_API_TOKENenvironment variable containing a GitHub access token
- Add a
Happy Haskelling with Danger & hlint.